Installing a DIY dog door is one of the best ways to give your furry friend the freedom they deserve while making your life easier. Whether you’re tired of constantly opening the door for your pet or looking to provide more independence for them, a dog door is a practical and affordable solution. Fortunately, with a little planning and some basic tools, you can create a secure and functional pet entryway all by yourself.
In this guide, you’ll learn everything you need to know about building and installing your own dog door—from choosing the right materials to measuring your dog’s height and ensuring your home’s safety. Whether you want to install it in a wooden door, wall, or sliding glass door, this comprehensive tutorial will walk you through every step of the process.
Why Build a DIY Dog Door?
Making a dog door yourself offers many benefits:
- Cost-effective: Prefabricated dog doors can be expensive. DIY options save money.
- Customizable: Tailor the size and style to match your home and your dog’s needs.
- Convenient: Reduce interruptions in your day with easy access for your pet.
Choosing the Right Type of Dog Door
For Wooden or Metal Doors
The most common choice. Simple to cut and easy to seal.
Wall-Mounted Dog Door
Allows more flexibility in placement, especially if your main doors are made of glass or too thin.
Sliding Glass Door Insert
These are more advanced but ideal for renters or homeowners who want a non-permanent option.
Tools and Materials You’ll Need
Before you begin, gather the following supplies:
- Measuring tape
- Pencil
- Jigsaw or handsaw
- Drill
- Screwdriver
- Sandpaper
- Hinges (if building a flap)
- Weather stripping
- Durable plastic or rubber flap
- Wood screws or bolts
Optional: Magnetic strips for sealing, pet-safe paint for finishing touches.
Step-by-Step Guide to Build a DIY Dog Door
Step 1: Measure Your Dog
Measure the width and height of your dog’s shoulders and add 2 inches to each. Ensure the bottom of the door is no higher than your dog’s belly.
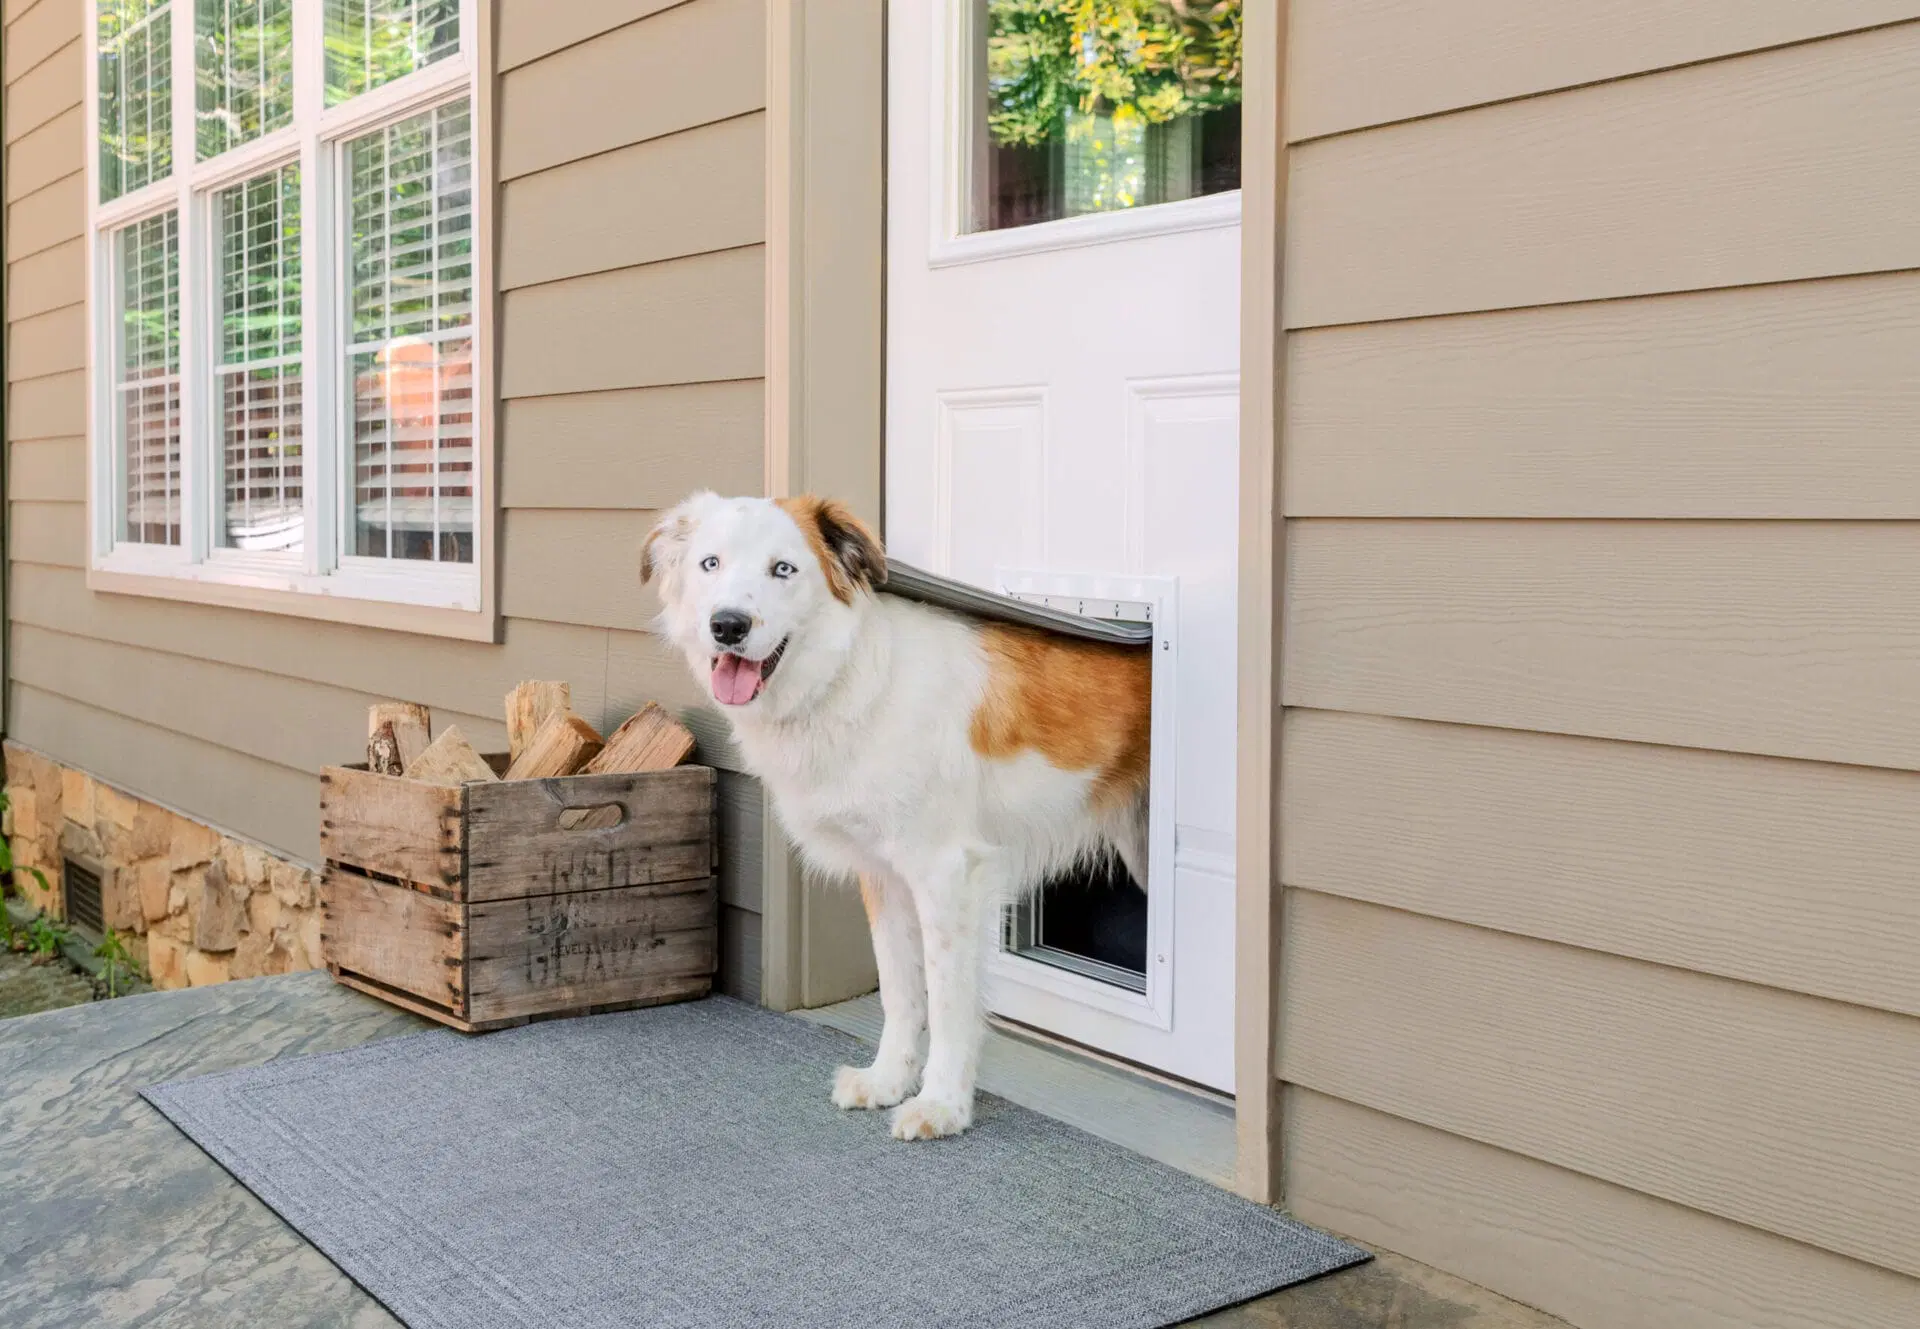
Step 2: Choose the Location
Select a location where your dog frequently exits—usually a back door or garage door. Ensure there’s enough clearance on both sides.
Step 3: Mark the Cutout
Draw the outline of the door using your dog’s measurements. Use a pencil to mark the inside and outside of the door panel.
Step 4: Drill Pilot Holes
Drill a hole in each corner of the marked outline to make it easier to start your jigsaw.
Step 5: Cut the Opening
Use a jigsaw to carefully cut along the marked lines. Remove the cutout piece and sand the edges to remove splinters.
Step 6: Build or Install the Flap
- Cut a plastic or rubber piece slightly larger than the hole.
- Attach it using hinges or screws at the top so it swings freely.
- For better insulation, consider double-layering or using weather stripping.
Step 7: Add Finishing Touches
- Sand all edges again and paint or seal if necessary.
- Add a magnetic strip to the bottom if you want it to close automatically.
- Test it out with your dog and make any necessary adjustments.
Tips for Better Insulation and Weatherproofing
- Use weather stripping around the edges to prevent drafts.
- Install a double flap system for cold climates.
- Consider adding an insulated cover on the outside for extreme weather.
Safety and Security Considerations
- Locking Mechanism: Add a sliding panel or internal lock for times you don’t want your dog to go out.
- Size Control: Ensure the door is not large enough for a person to crawl through.
- Monitor Usage: Use pet cameras or sensors to track your dog’s movements if needed.
Common Mistakes to Avoid
- Cutting without double-checking your measurements.
- Using materials that wear out quickly (e.g., soft plastic).
- Ignoring insulation, which can increase your energy bills.
- Placing the door in high-traffic or obstructed areas.
Benefits of a DIY Dog Door
| Benefit | Description |
|---|---|
| Freedom for your dog | Allows your dog to go outside whenever they need. |
| Time-saving | Fewer interruptions during your daily routine. |
| Cost-effective | No need to buy expensive commercial products. |
| Tailored for your pet | You control the size and style for a perfect fit. |
When to Consider a Professional Installation
While DIY dog doors are great, you may need help if:
- You’re working with thick exterior walls.
- You want integration with smart home systems.
- You’re installing into a glass door.
DIY Dog Door for Renters: Non-Permanent Options
- Use a removable panel for sliding glass doors.
- Consider temporary flaps that attach with Velcro or suction.
- Look for pressure-mounted doors that don’t damage walls or frames.
Maintaining Your Dog Door
- Clean the flap weekly to remove dirt and debris.
- Check hinges or screws monthly for loosening.
- Inspect seals and insulation before winter and summer seasons.
Conclusion
A DIY dog door is a smart, affordable way to enhance both your dog’s independence and your own convenience. With the right tools, a bit of patience, and this step-by-step guide, you can successfully install a durable and safe entryway for your pet. It’s a weekend project that pays off in the long run with fewer door scratches and more freedom for everyone.